For my first project I used the Echo Park mini theme kit "Game On" to create a mini album.
The cover of the mini album was made using chipboard that I covered with cardstock.
Then I decorated the cover with the stickers from the mini kit.

This is the spine of the album also decorated with stickers from the kit.

The back of the cover just has a simple sticker on it.


You just need to trim about 1/4" off from them for them to fit and the paper show behind them as a mat. All of the pages in the book are pockets and hold another page inside each of them for even more places to journal or put photos.

Here you can see one of the pages partially pulled out.


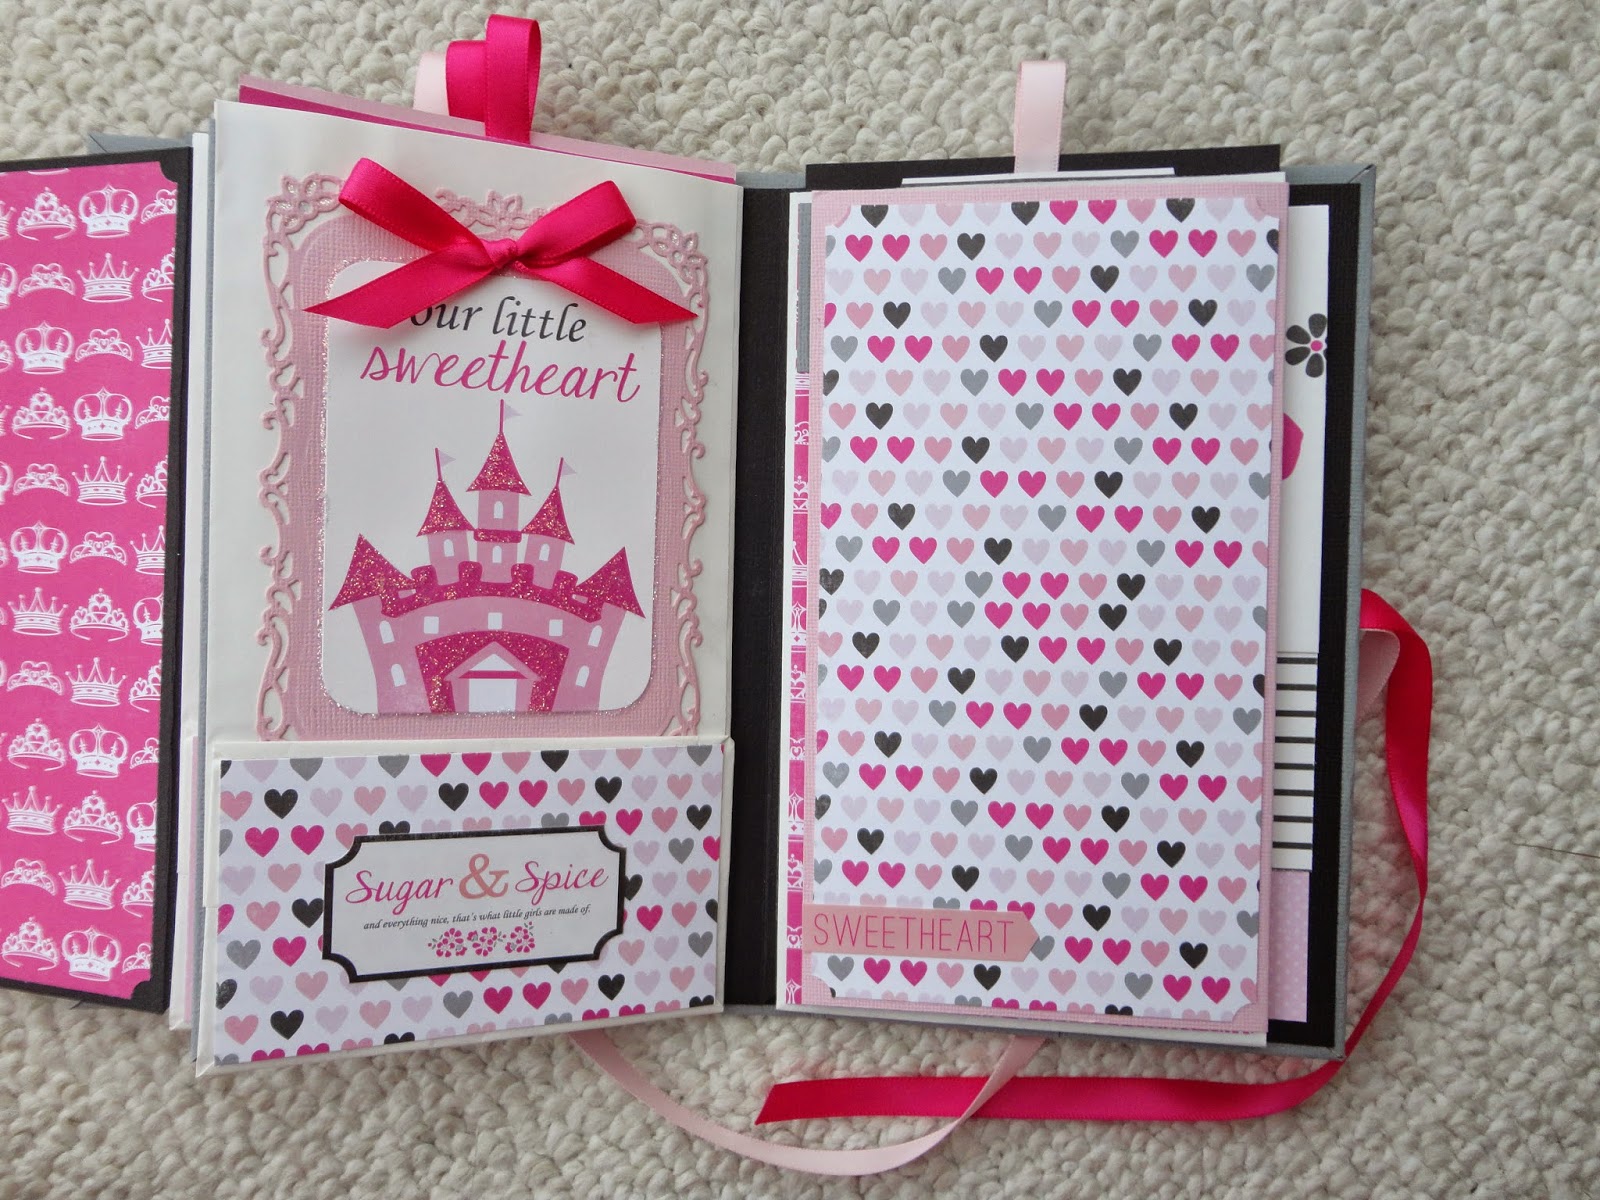
For my second mini project I used the Echo Park "Princess" kit to create a paper bag album.
All of the embellishing on the covers and spine are from the sticker sheet in the kit.
I added some ribbon, a piece of twine and a rhinestone, which were not part of the kit.


The first page has a flap that flips out and gives you more spaces for photos. I added the little cupcake embellishment and added stickles to the circle its on for some added depth. The circle is on a foam square so that it does not interfere with any photos being put in the spaces above and below it.

This is the back of the first page and the front of the second page. The back page has a pocket on the bottom portion of the page for you to tuck whatever you like in it. The second page has more space for photos.

This is the inside of the second page with the flap opened out to show all of the space available for photos or memorabilia.

The back of the second page and third page with flap opened out.

This is the back of the third page and front of the fourth page.
The fourth page flap opened out to show all of the space.

The back of the fourth page and back cover. The back cover has waterfall pages from the leftover pieces I had left.

Shows the back side of the waterfall pages so you are able to put photos or journaling on both sides of the pages.

You may have noticed the ribbon sticking out of the tops of all of the pages as we were going through it. Those ribbons are what you use to pull out these extra pieces of cardstock with even more space for photos, journaling and memorabilia. These are showing the front of them.

This is what the back sides look like.

So there you have it...My projects for our first month on the KrEative Design Team.
I had so much fun making these and can't wait to hear your responses. Stop by the store to see them in person and pick up the supplies to make your own. Thanks for taking the time to stop by.
Have a great day!
Jennifer
No comments:
Post a Comment